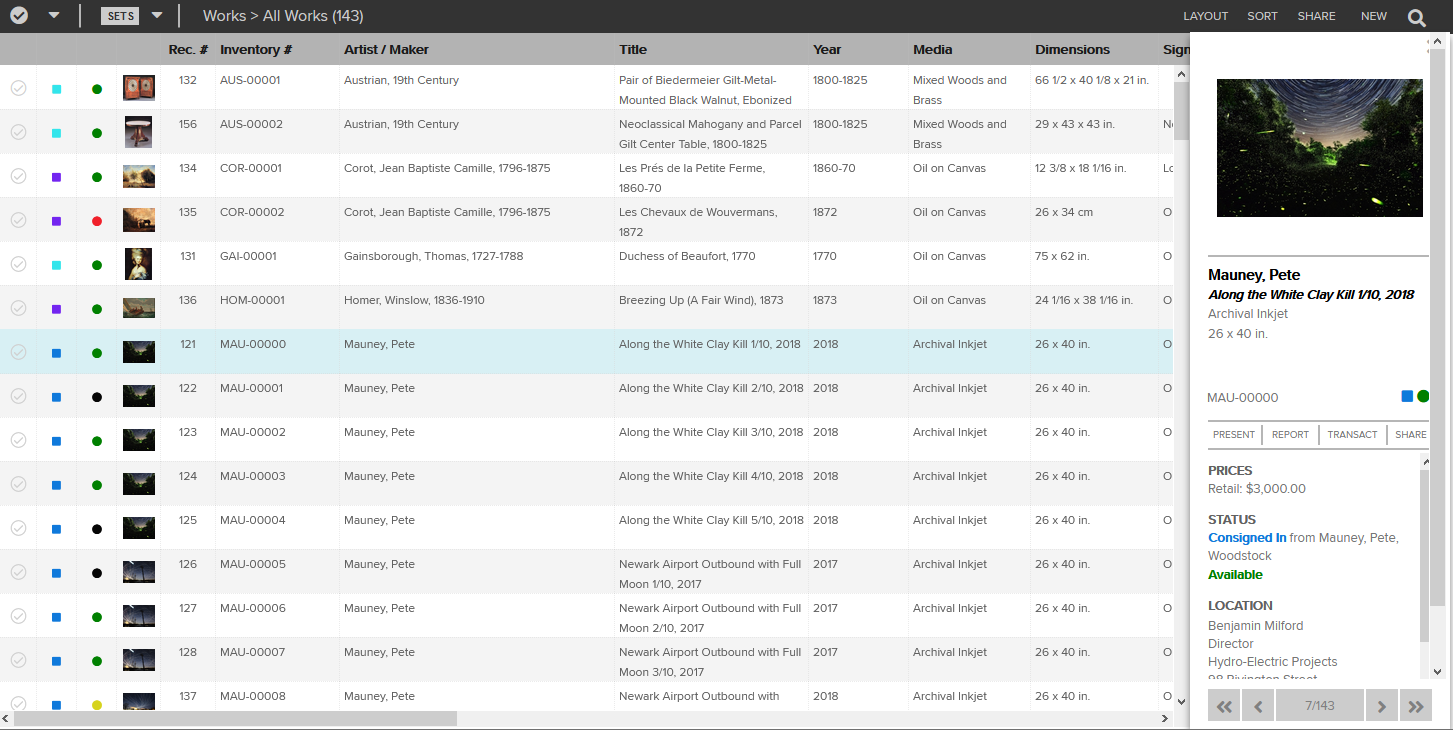
The Preview Panel is a quick way to see the most important details on any record. Open a module and double-click once on any record to view the Preview Panel on the right side of screen.
In Works the Preview Panel will display work Primary Image, Details, Prices, Status, Location and additional information of who added the record and when. Click the X on the upper right corner of the pane to turn off the Preview Panel.
Action Tool Bar on the Preview Panel

The Action Tool Bar is the quickest way to change the layout, make commonly used reports, create transactions or send email.
Added Feature: An added feature of the Action Tool Bar on the Preview Panel is that users can Mark a group of works and then utilize the Action Tool Bar for one of the Work records to create Reports, Transactions, or create and send Email for the whole group of Marked records.
Present
Click Present on the Preview Panel to open the record in Presentation View. Presentation View shows one record at a time (full screen), with Image and Work Details including Exhibitions and Bibliography information. Click the X at the upper right to turn off Presentation View.
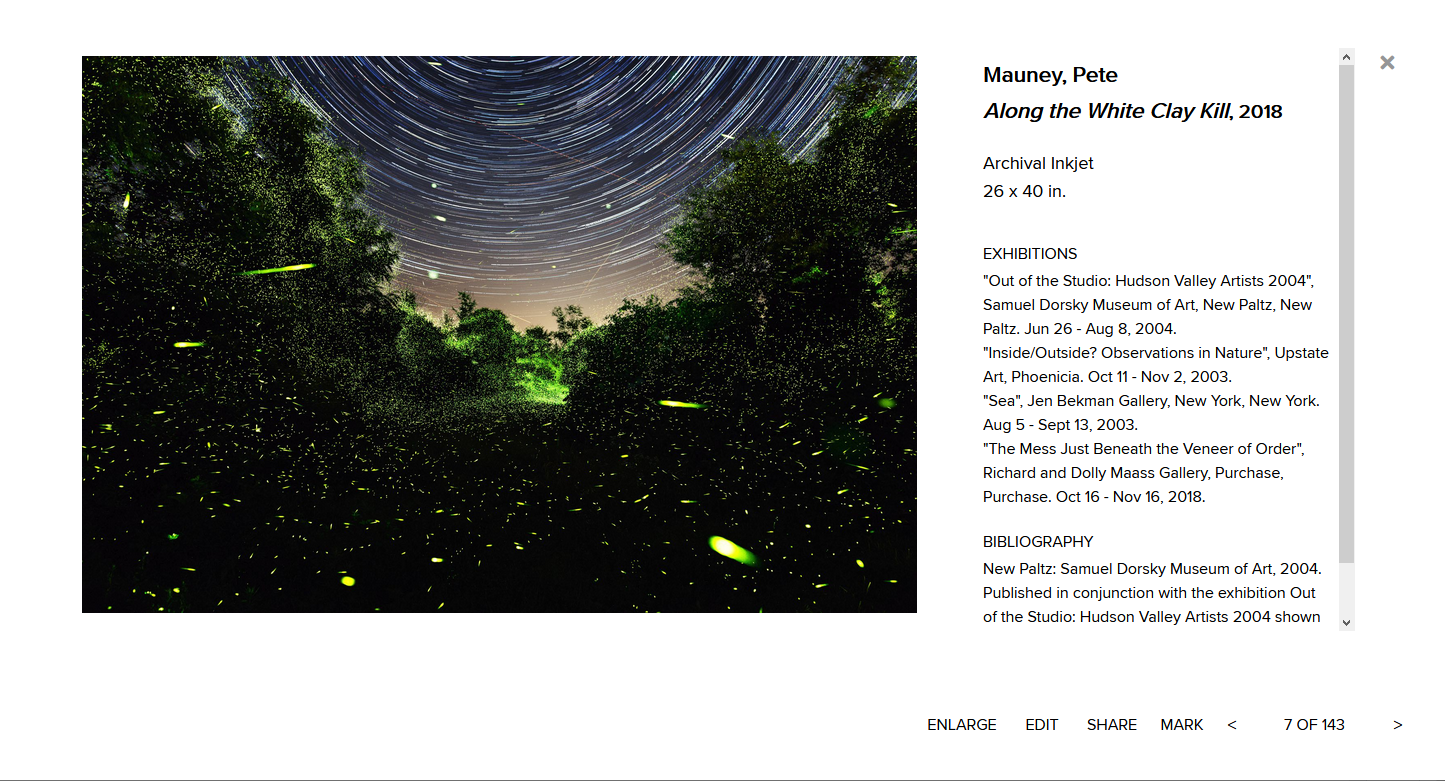
- ENLARGE: Click to show Image Only in full screen
- EDIT: Click to open up the Works Detail Pane
- SHARE: Click to send the Work via email
- MARK: Click to Mark the Work
- 7 of 143: Display the record number and total of records in the Dataset
- < >: Navigation arrows allow the use to move forward > to next record or back < to the last record in the Dataset
Report
Click Report to select from a short list of most utilized reports in the module. In Works users will select from a list of three reports: Catalogue Report, Full Page Detail, and Infosheet. The report will generate for the preview record, but will include other records which were Marked prior to selecting the report on the Preview Panel.
Report: Infosheet
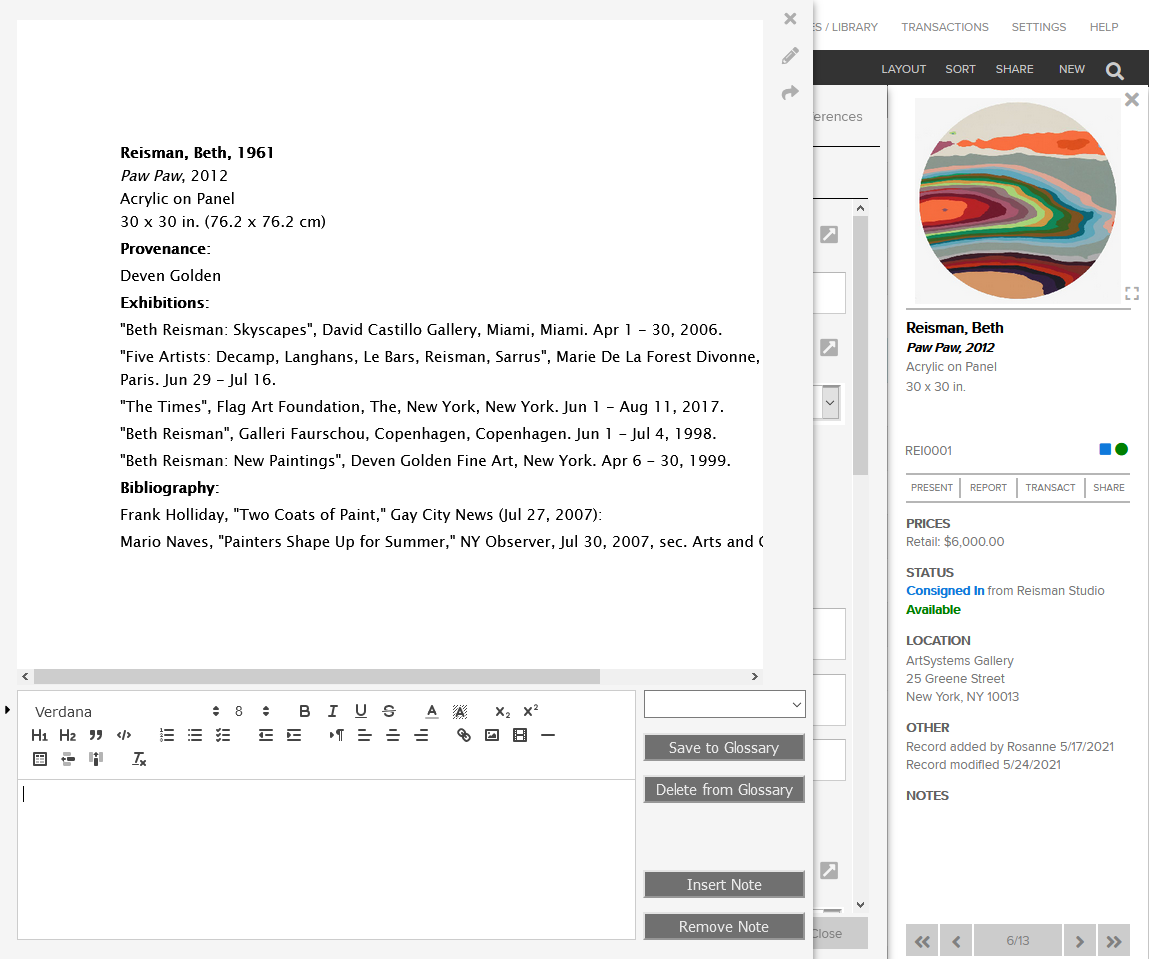
The Infosheet is a special report A5Artsystems users can generate which pulls together information from Works Details, Works Provenance and any Reference linked in the Works References module (Exhibitions, Literature, etc.). Infosheets linked to Work records on the Works Document Pane may be included in the Exhibition Private Viewing Room. SEE How to Add a Private Viewing Room.
Save Infosheet to Work > Documents
- Select from the Preview Panel Report > Infosheet.
- Download the Report so it may be edited, make any edits necessary.
- Open Works>Documents and click the Attach Infosheet icon
 to open the drop zone, then drag and drop any document into the drop zone. Click the Done button when finished. The check mark in the 'Info' column will appear only if users use the Attach Infosheet icon to save a document to the Work record.
Transact
Click Transact to create a quick transaction record: Invoice, Offer, Consign Out, Cash Sale, Shipment, Loan, Receive Work, or Reacquire Work. The Transact option on the Preview Panel is the quickest easiest way to create a Transaction. If Works were Marked prior to selecting Transact, users will be prompted to include the selected record or to include all Marked Works:
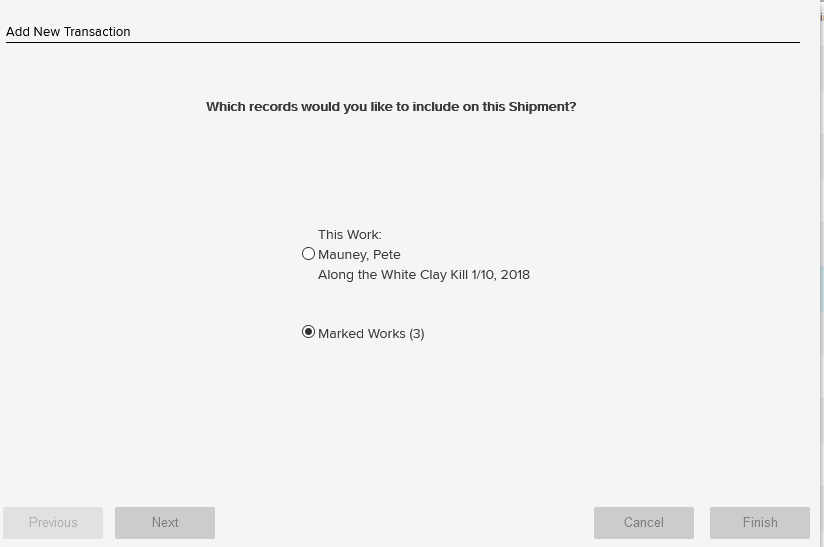
- Select the desired option and then click the Next button to continue selecting information for the Transaction. On the next Pane, select the Contact for the Transaction.
- Use the Search field to find the contact, or scroll to find the Contact. (Note: Users can click on the Magnifying Glass icon
 to select to search by either Sort Name or Last Name)
 - If the Contact has not yet been added, use the Add icon
 to add a new Contact.
Once the Contact is found or added, highlight the name in the list and select the Arrow icon  next to Ship From: and Ship To:

- Click the Finish button when complete and the new Transaction will appear on the screen:

Share
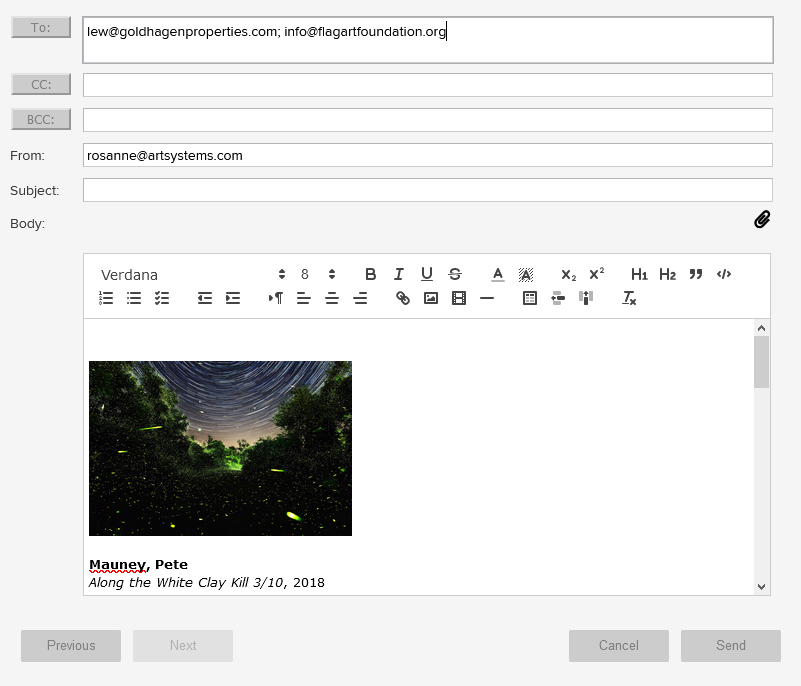
Click Share on the Preview Panel to send an email. Similar to Transact the first screen to appear will ask to include the Work highlighted or the Marked Works.
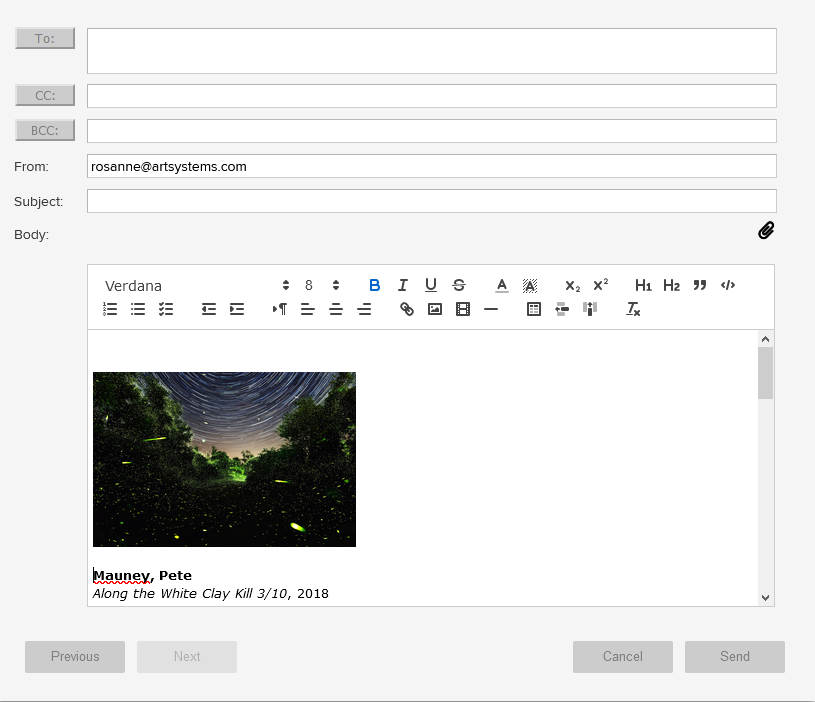
- Select the desired option and select the Next button and the email form will appear.

Note that the Image and Work Details are included in the body of the email and the user can fill in the To: field by typing directly into the field or by selecting the To: button to choose the contacts from the database.
Search to find the desired contact and mark in the list. When all are selected click the Arrow icon to move the selections into the Sent To: column. In the example below I had marked the contact selections prior to utilizing the Preview Pane's Send option so I checked the Marked Contacts on the bottom of the pane to quickly find the contacts. NOTE: When selecting from Contacts note that only Contacts with email addresses may be selected.
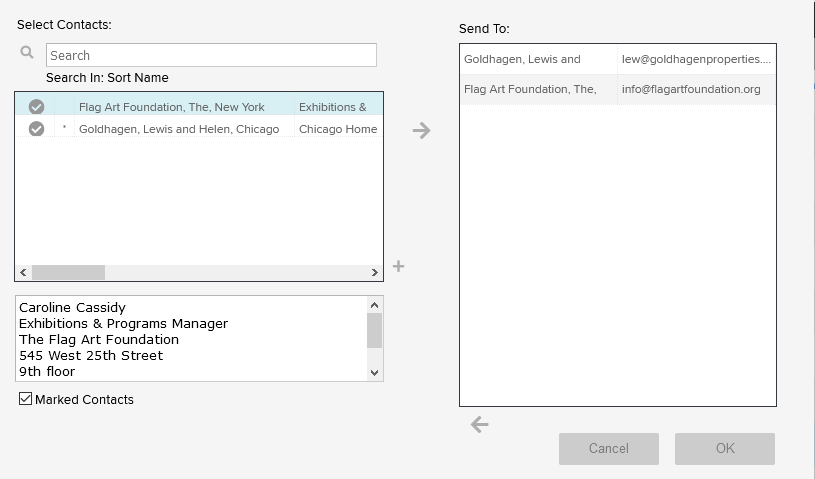
- Select the OK button when done and the user will return to the email form with email addresses populated. Any additional edits can be made, and when complete press the Send button.